Your First Entity
Where to find it
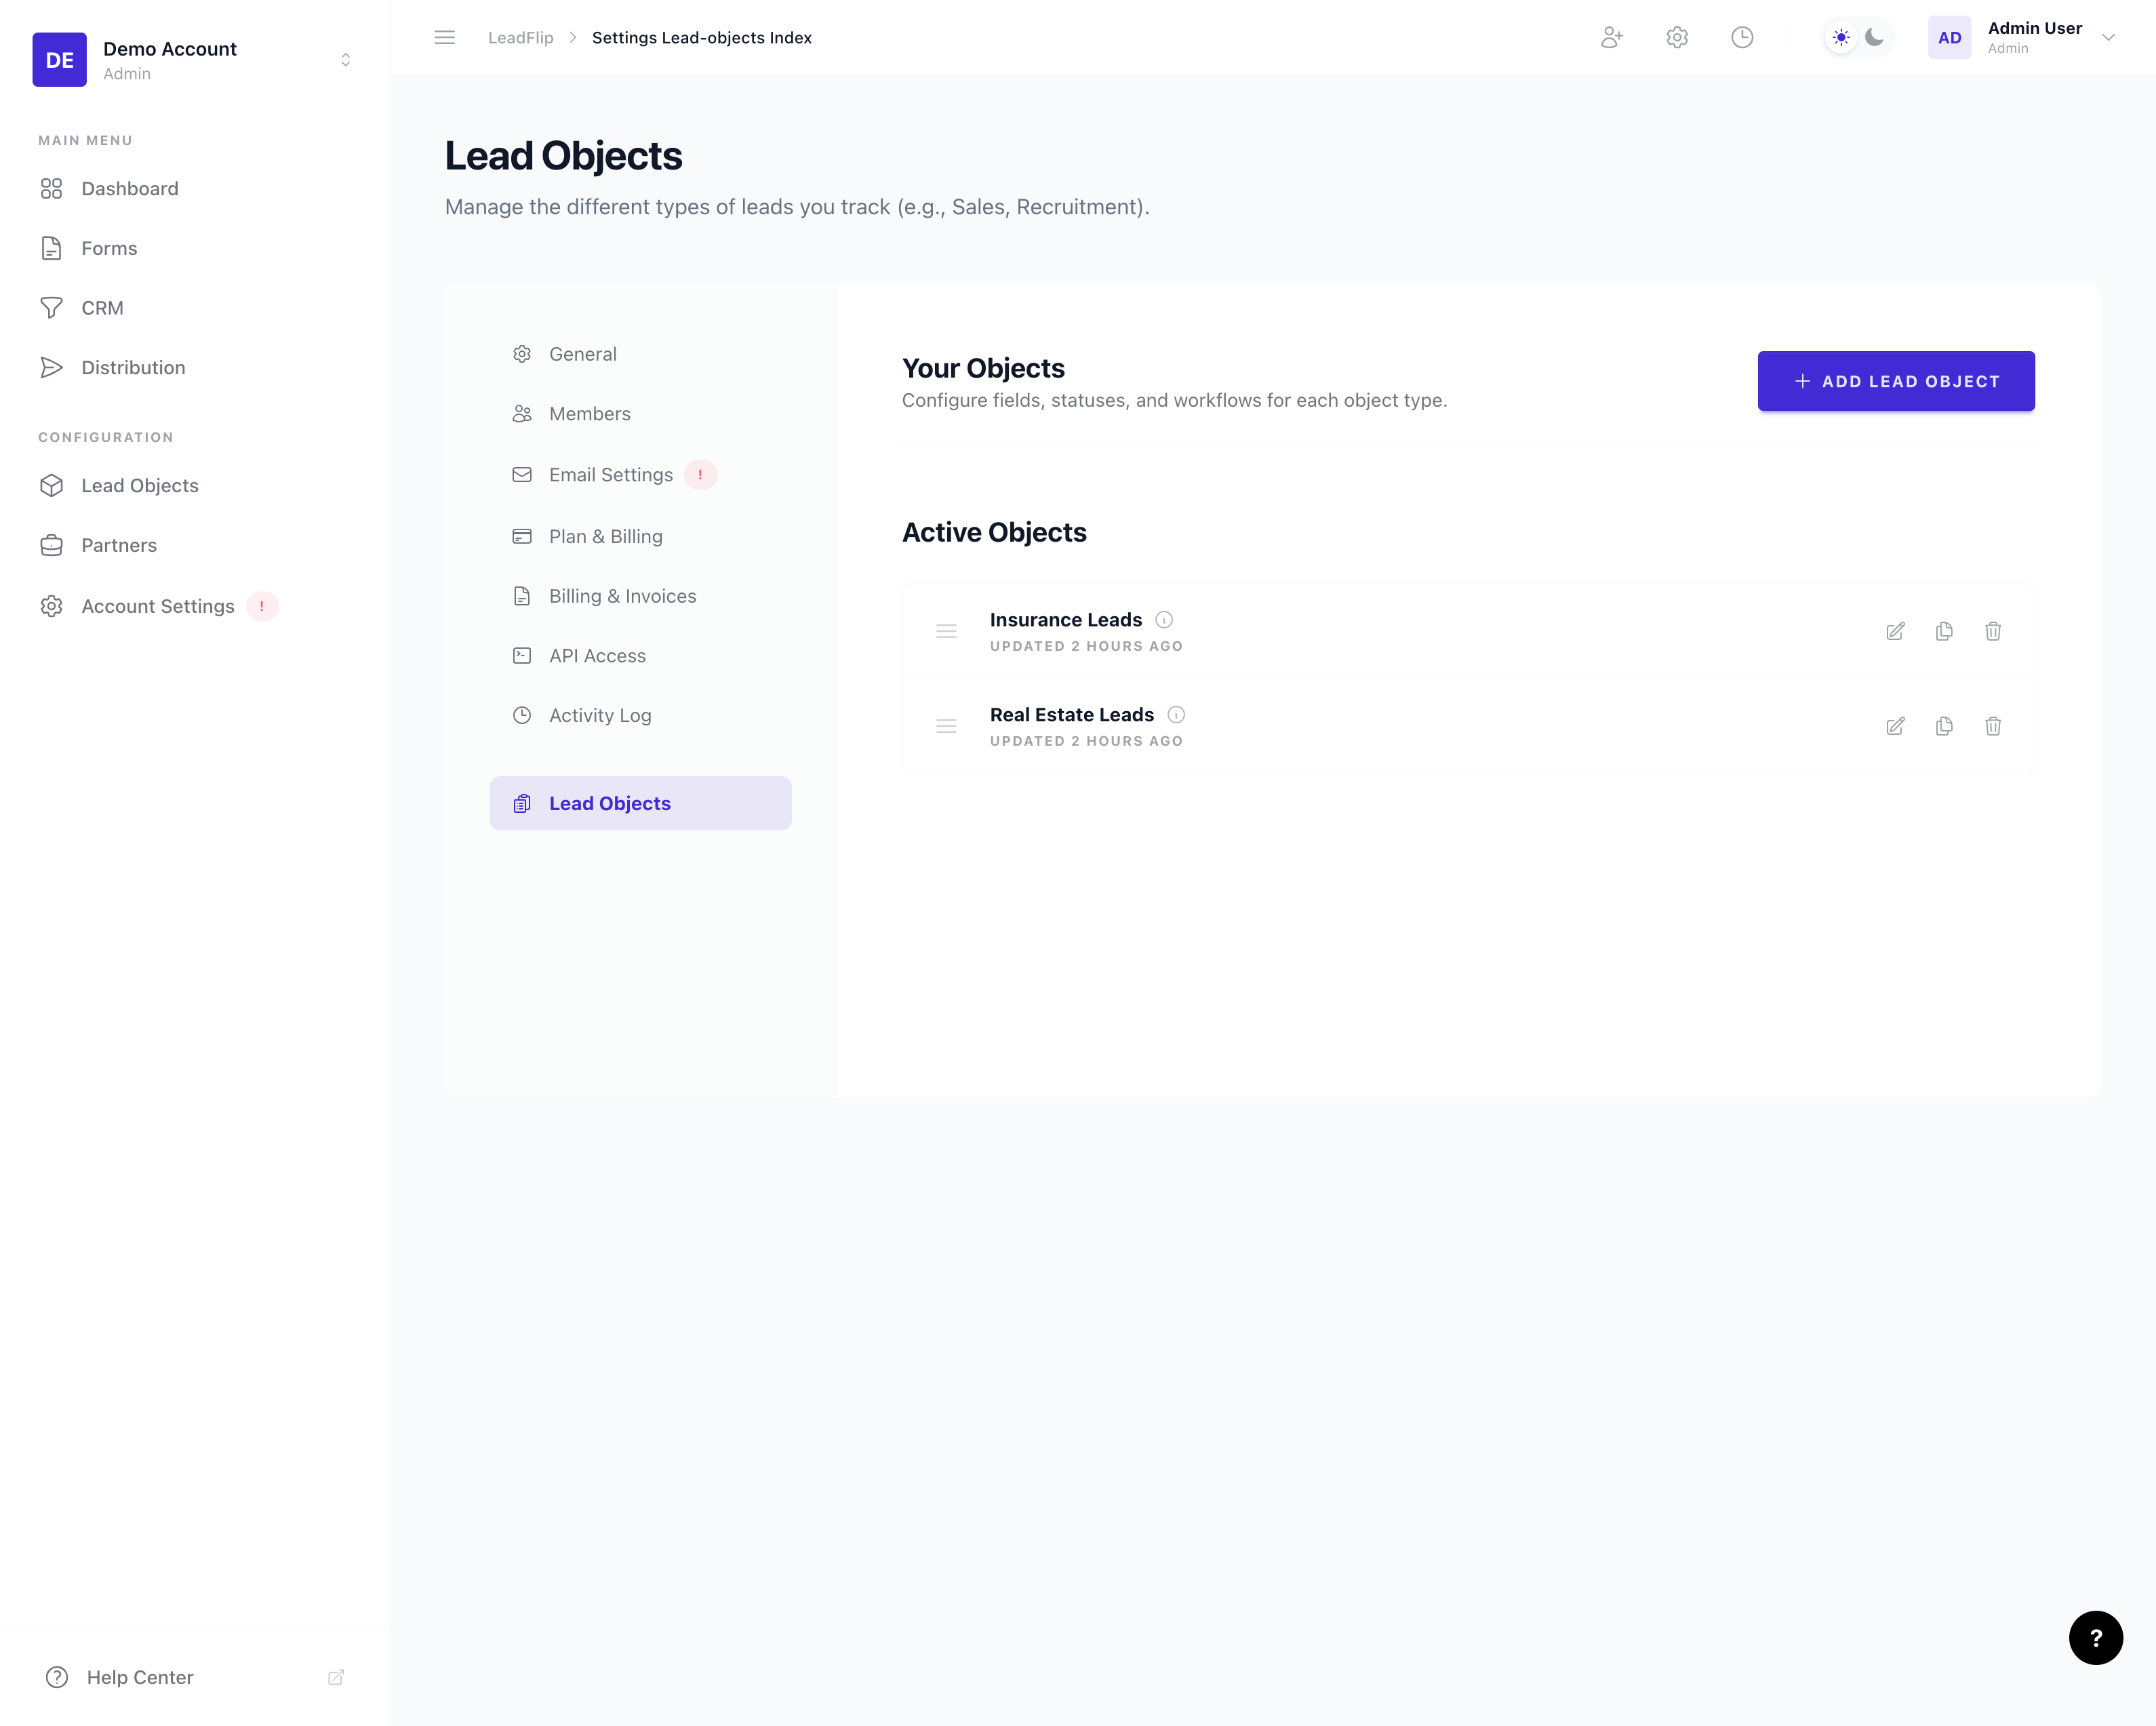
Sidebar > Entities > Create New
Your First Entity
An Entity is your data model. It defines what a "lead" looks like in Leadflip. Before you can capture or manage leads, you need at least one Entity. This guide walks you through creating your first one.
Why Entities Matter
Every form, CRM column, distribution rule, and automation operates on an Entity. By defining it upfront, you ensure consistency across all modules. Change a field once, and it updates everywhere.
Step 1: Open Entities
- In the sidebar, click Entities.
- Click Create New (or New Entity).
Step 2: Name Your Entity
Give your Entity a clear, descriptive name. Examples:
- Real Estate Buyer – for buyer leads
- Insurance Quote – for insurance inquiries
- Contact Form – for general website contacts
The name appears in the Entity selector and throughout the app.
Step 3: Add Fields
Fields are the building blocks of your Entity. There are two types:
System Fields
System fields are built-in and cannot be removed. They include:
- Status – The lead’s position in your pipeline (e.g., New, Contacted, Qualified).
- Created at – When the lead was created.
- Updated at – When the lead was last modified.
- Source – Where the lead came from (form, API, manual, etc.).
Custom Fields
Custom fields are defined by you. Add as many as you need. Common examples:
- Name (text)
- Email (email)
- Phone (phone)
- Company (text)
- Notes (textarea)
- Budget (number)
- Preferred contact method (select)
Field Types
When adding a custom field, choose a field type:
| Type | Use case |
|---|---|
| Text | Short text (name, company) |
| Textarea | Longer text (notes, message) |
| Email address with validation | |
| Phone | Phone number |
| Number | Numeric values (budget, quantity) |
| Select | Single choice from a list |
| Multi-select | Multiple choices from a list |
| Date | Date only |
| Datetime | Date and time |
| Checkbox | Yes/no or true/false |
| URL | Web address |
Step 4: Configure Status Groups
Status groups organize your pipeline. Each group contains one or more statuses. For example:
- New – New, Unassigned
- In Progress – Contacted, Qualified, Meeting Scheduled
- Won – Closed Won
- Lost – Closed Lost, Not Interested
Leads move between statuses as they progress. The CRM Kanban board uses these statuses as columns.
Step 5: Save and Use
Click Save to create your Entity. It appears in the Entity selector immediately. You can now:
- Build forms that capture data into these fields
- Open the CRM and see a Kanban board with your status columns
- Set up distribution rules based on field values
- Create automations that react to status changes
Editing Later
You can edit your Entity anytime from Entities in the sidebar. Add new fields, change field types (with care, since some changes may affect existing data), or adjust status groups. See the Glossary for definitions of key terms.