Creating Your Account
Where to find it
Sign up at leadflip.net > Verify email > Complete profile
Creating Your Account
Getting started with Leadflip is straightforward. This guide walks you through the signup process, email verification, and profile setup.
Sign Up Options
Leadflip supports two signup methods:
Email and Password
- Go to leadflip.net and click Sign up.
- Enter your email address and choose a password (minimum 8 characters).
- Click Create account.
- Check your inbox for a verification email and click the link to verify your address.
Google OAuth
- Go to leadflip.net and click Sign in with Google.
- Select your Google account when prompted.
- Grant Leadflip permission to access your basic profile (name, email).
- Your account is created and verified automatically. No email verification step required.
Verify Your Email
If you signed up with email and password, you must verify your email before full access. The verification link expires after 24 hours. If it expires, you can request a new verification email from the login page.
Complete Your Profile
After signing in, complete your profile:
- Name – Displayed in the app and visible to team members.
- Email – Your login email (changing it requires re-verification).
Access profile settings by clicking your name or avatar in the top-right corner, then Profile.
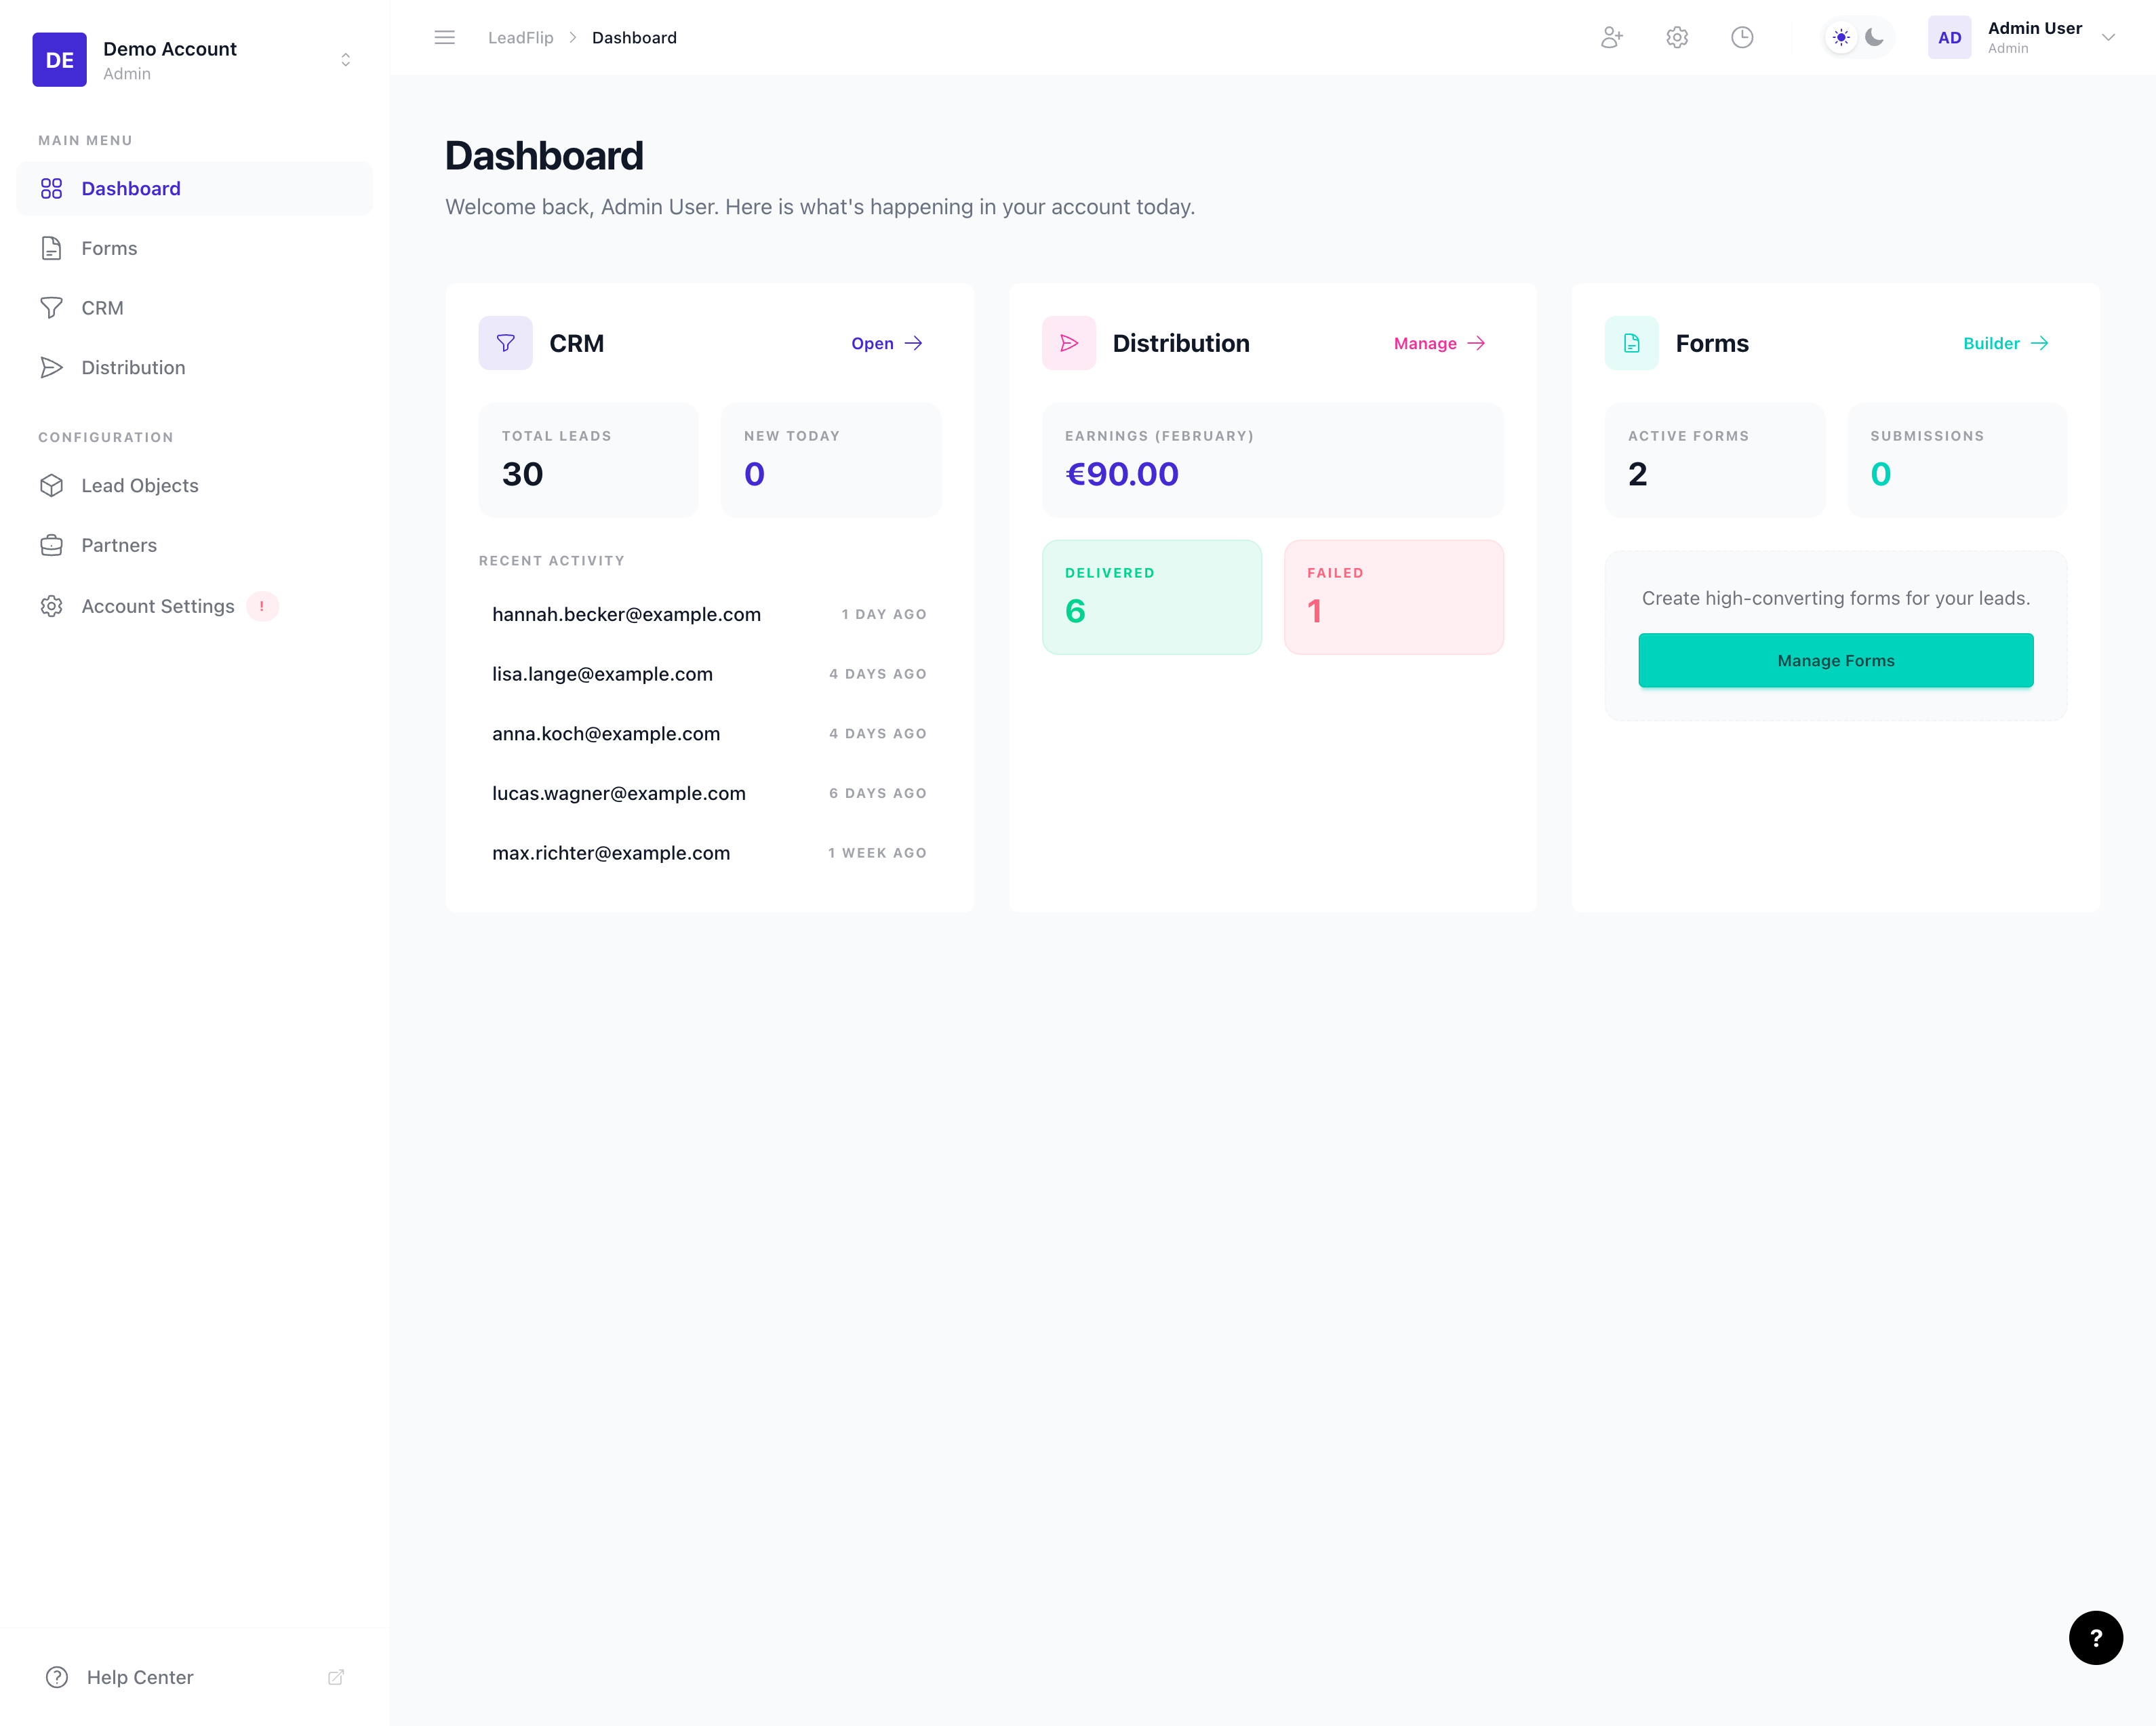
Account Switcher
If you belong to multiple accounts (e.g., as a team member or agency managing several clients), use the account switcher in the sidebar. Click the current account name to see a dropdown of all accounts you can access, then select the one you want to work in. Your context (Entities, forms, CRM, etc.) switches immediately.
Creating an Additional Account
You can create a new account directly from inside Leadflip; no second signup needed. Use this when you want a separate workspace for a new project, client, or team.
- Open the account switcher in the sidebar (click the current account name).
- Scroll to the bottom of the dropdown and click + Create new account.
- Enter a name for the new account and click Create account.
You are added as an Admin of the new account and land on its empty dashboard. Your original account and its data are unaffected; this is a fully isolated workspace.
Once the account exists, you can invite teammates to it from Account Settings → Members the same way you would invite to any other account.
Accepting a Team Invitation
When an admin invites you to an account, you receive an email with an Accept invitation button. Clicking it takes you to the account based on your current state:
- Already signed in to Leadflip with the invited email – You are attached to the inviting account immediately and land on its dashboard.
- Already signed in with a different email – You see a short page explaining the mismatch, with a Sign out and accept invite button. Clicking it signs you out and returns you to the invitation.
- Signed out, Leadflip account already exists – You are sent to the login page. After logging in, the invitation is accepted and you land on the invited account's dashboard.
- Signed out, no Leadflip account yet – You are sent to a pre-filled registration page. Creating your account also joins you to the invited account automatically.
Invitation links are valid for 7 days. If a link expires, ask the admin to resend it from Account Settings → Members.
Profile Settings
The Profile page has three sections:
- Profile Information – Update your name and email address. Changing your email requires re-verification.
- Password – Change your password (email/password accounts only; not available for Google OAuth accounts).
- Email Configuration – Configure personal SMTP and IMAP settings. For account-wide email setup, see Email Setup (SMTP & IMAP).
- Delete Profile – Permanently delete your user profile. This action cannot be undone.
Next Steps
Once your account is set up, head to the Dashboard to get oriented, then create your first Entity to define your data model.