Kanban Board
Where to find it
Sidebar > CRM > [Entity] > [Status Group]
Kanban Board
Prerequisite: Many CRM features (e.g., email notifications, automated follow-ups) require a configured SMTP server. If you haven't set one up yet, go to Account Settings > Email Settings first. See Email Setup (SMTP & IMAP).
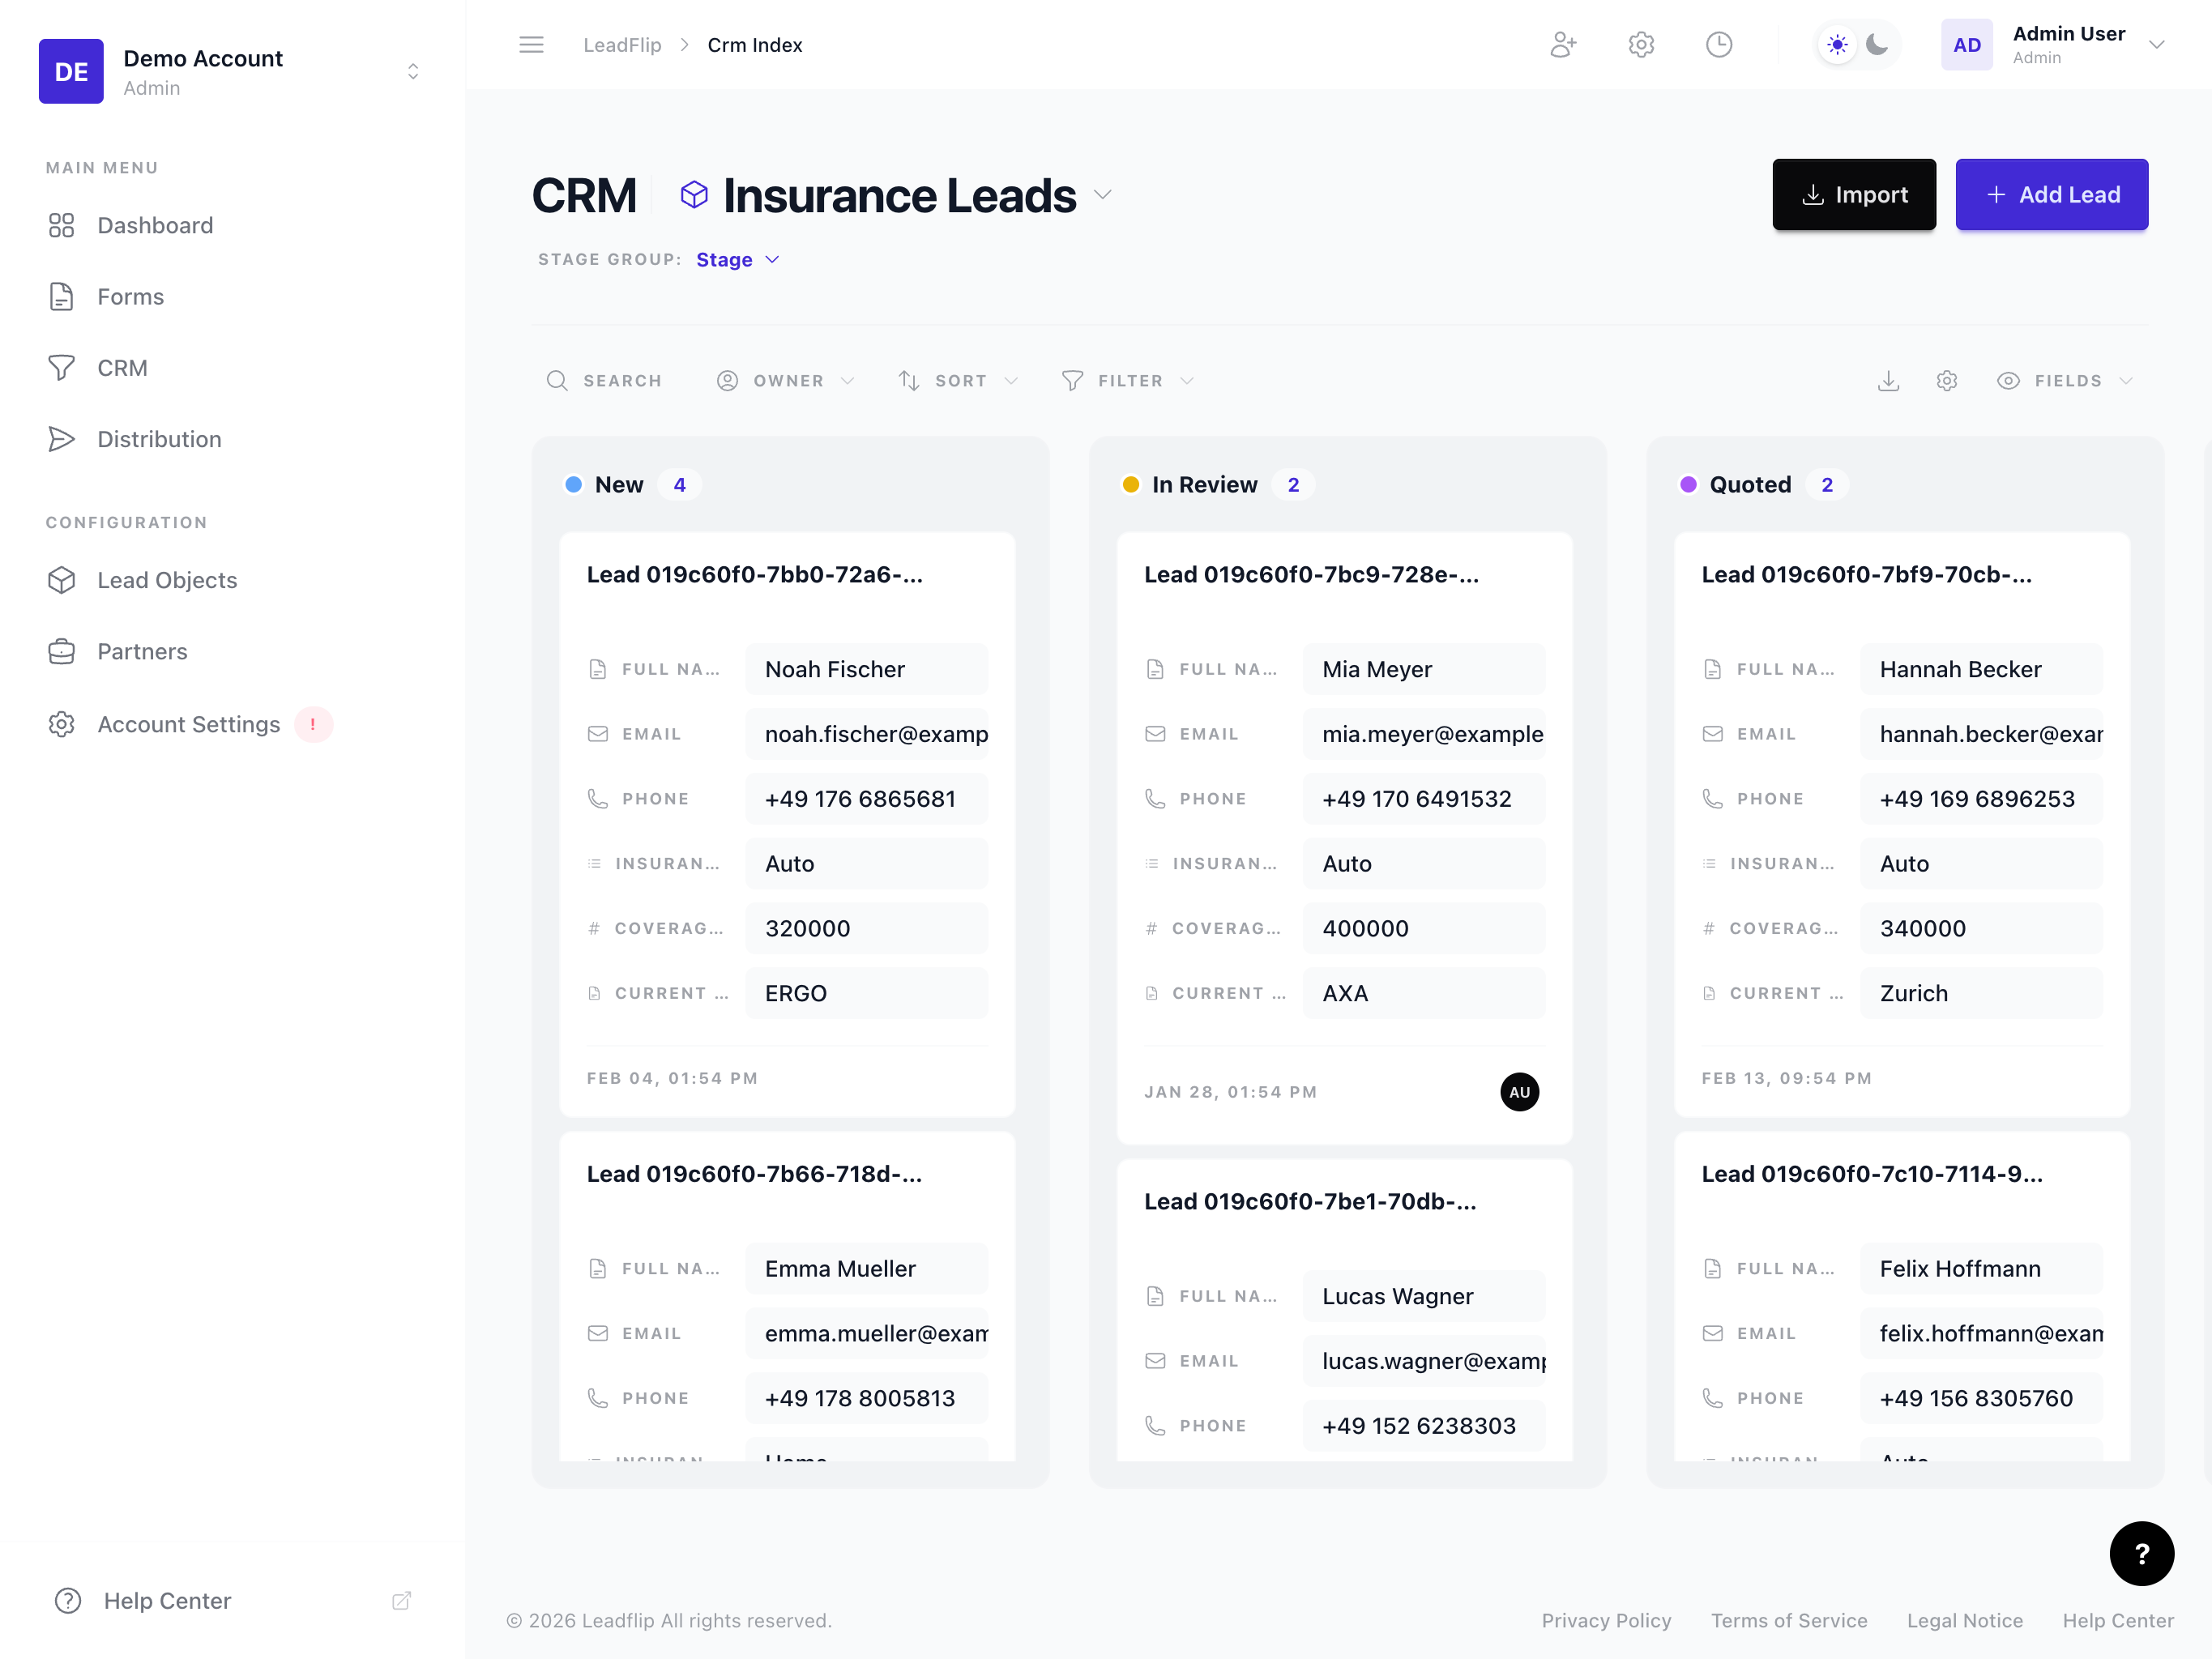
The Kanban board is the primary view in Leadflip's CRM. It displays your leads as cards organized in columns by status groups. Each column represents a stage in your pipeline, for example "New", "Contacted", "Qualified", and "Closed". You can drag leads between columns to update their status and move them through your pipeline.
How the Kanban Board Works
- Columns = Status groups – Each column corresponds to a status group you've configured in your Entity. Leads in that status appear as cards in the column.
- Cards = Leads – Each card shows key lead information (name, email, or custom fields you've chosen). Click a card to open the Lead Detail drawer.
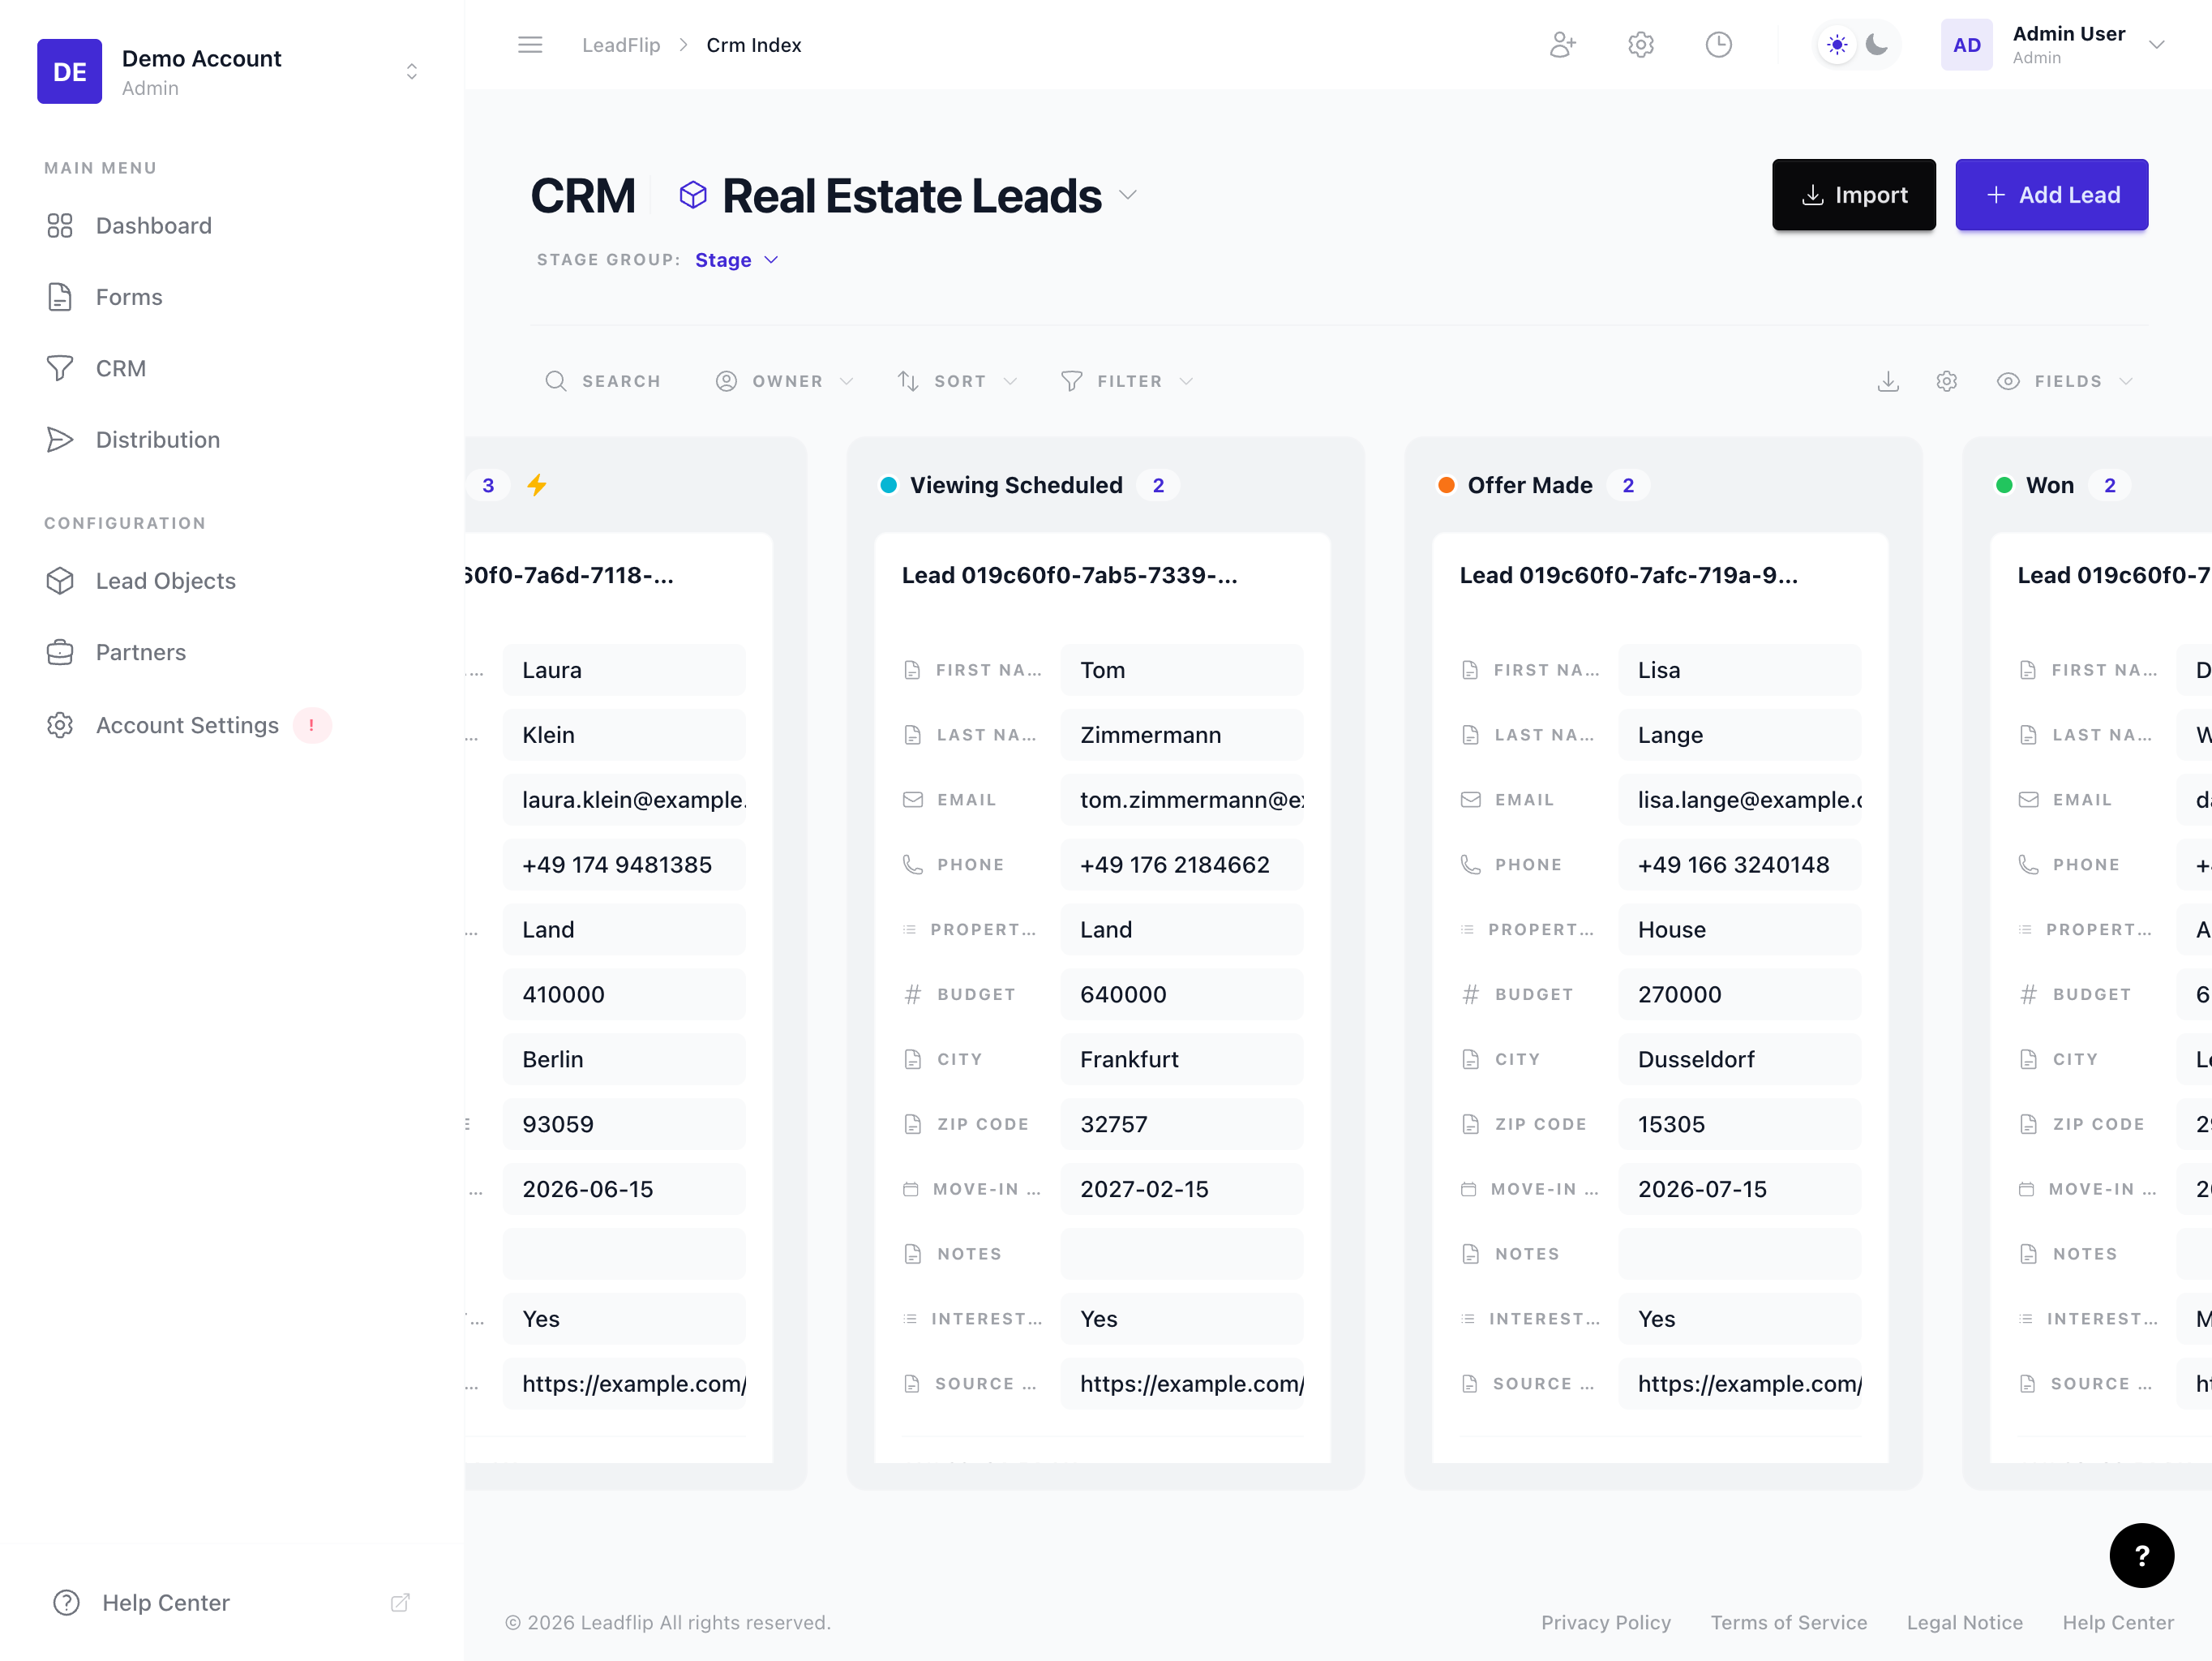
- Drag and drop – Click and hold a card, then drag it to another column. Releasing the card updates the lead's status to match the target column. If the target column has active automations, a safety confirmation appears first (see below).
Navigating the Kanban
- Select your Entity from the sidebar (e.g., "Leads", "Buyers").
- The board loads with all status groups as columns.
- Use the Search bar and Filter icon to narrow which leads appear.
- Scroll horizontally if you have many status groups.
Key Features
| Feature | Description |
|---|---|
| Visual pipeline | See your entire pipeline at a glance |
| Quick status updates | Drag cards to change status without opening forms |
| Lead cards | Customize which fields appear on cards (via Entity settings) |
| Bulk actions | Select multiple cards for bulk assign, export, or status change |
| Responsive layout | Works on desktop and tablet; columns stack or scroll on smaller screens |
Automation Safety Guard
When you drag a lead into a column that has active automations (indicated by the bolt icon in the column header), Leadflip protects you from accidentally triggering those automations.
Confirmation Modal
A modal appears listing the automations that will run if you proceed. You can:
- Continue – Confirm and proceed to the countdown.
- Cancel – Abort the move; the lead stays in its original column.
- "Don't show this warning again" – Check this box to skip the modal in the future. This is a global preference that applies across all stages and entities.
5-Second Countdown
After confirming (or if you've dismissed the modal permanently), a toast notification appears in the bottom-right corner with a 5-second countdown. This gives you a final window to cancel the move before the stage transition and its automations execute.
- The countdown shows a progress bar that counts down from 5 seconds.
- Click Cancel on the toast to abort.
- If the countdown completes, the lead moves to the new stage and any automations begin.
Note: Even if you've dismissed the confirmation modal, the 5-second countdown always appears when moving leads to stages with active automations.
Tips for Using the Kanban
- Keep columns focused – Use status groups that reflect real stages (e.g., "New", "In Progress", "Won", "Lost").
- Limit visible fields – Show only the most important fields on cards so the board stays readable.
- Use filters – Combine search and filters to focus on specific segments (e.g., unassigned leads, leads from last week).
Next Steps
- Open the Lead Detail drawer to edit fields and view history
- Search, filter, and sort leads
- Assign leads to team members