Creating & Configuring Entities
Where to find it
Sidebar > Entities > Create New
Creating & Configuring Entities
Creating a new Entity is the first step to defining your data model in Leadflip. This guide walks you through the process from start to finish.
Before You Begin
- Ensure you have admin or owner permissions in your account.
- Decide on a clear name and purpose for your Entity (e.g., "Real Estate Buyer Leads").
- Have a rough idea of the fields you'll need. You can add more later.
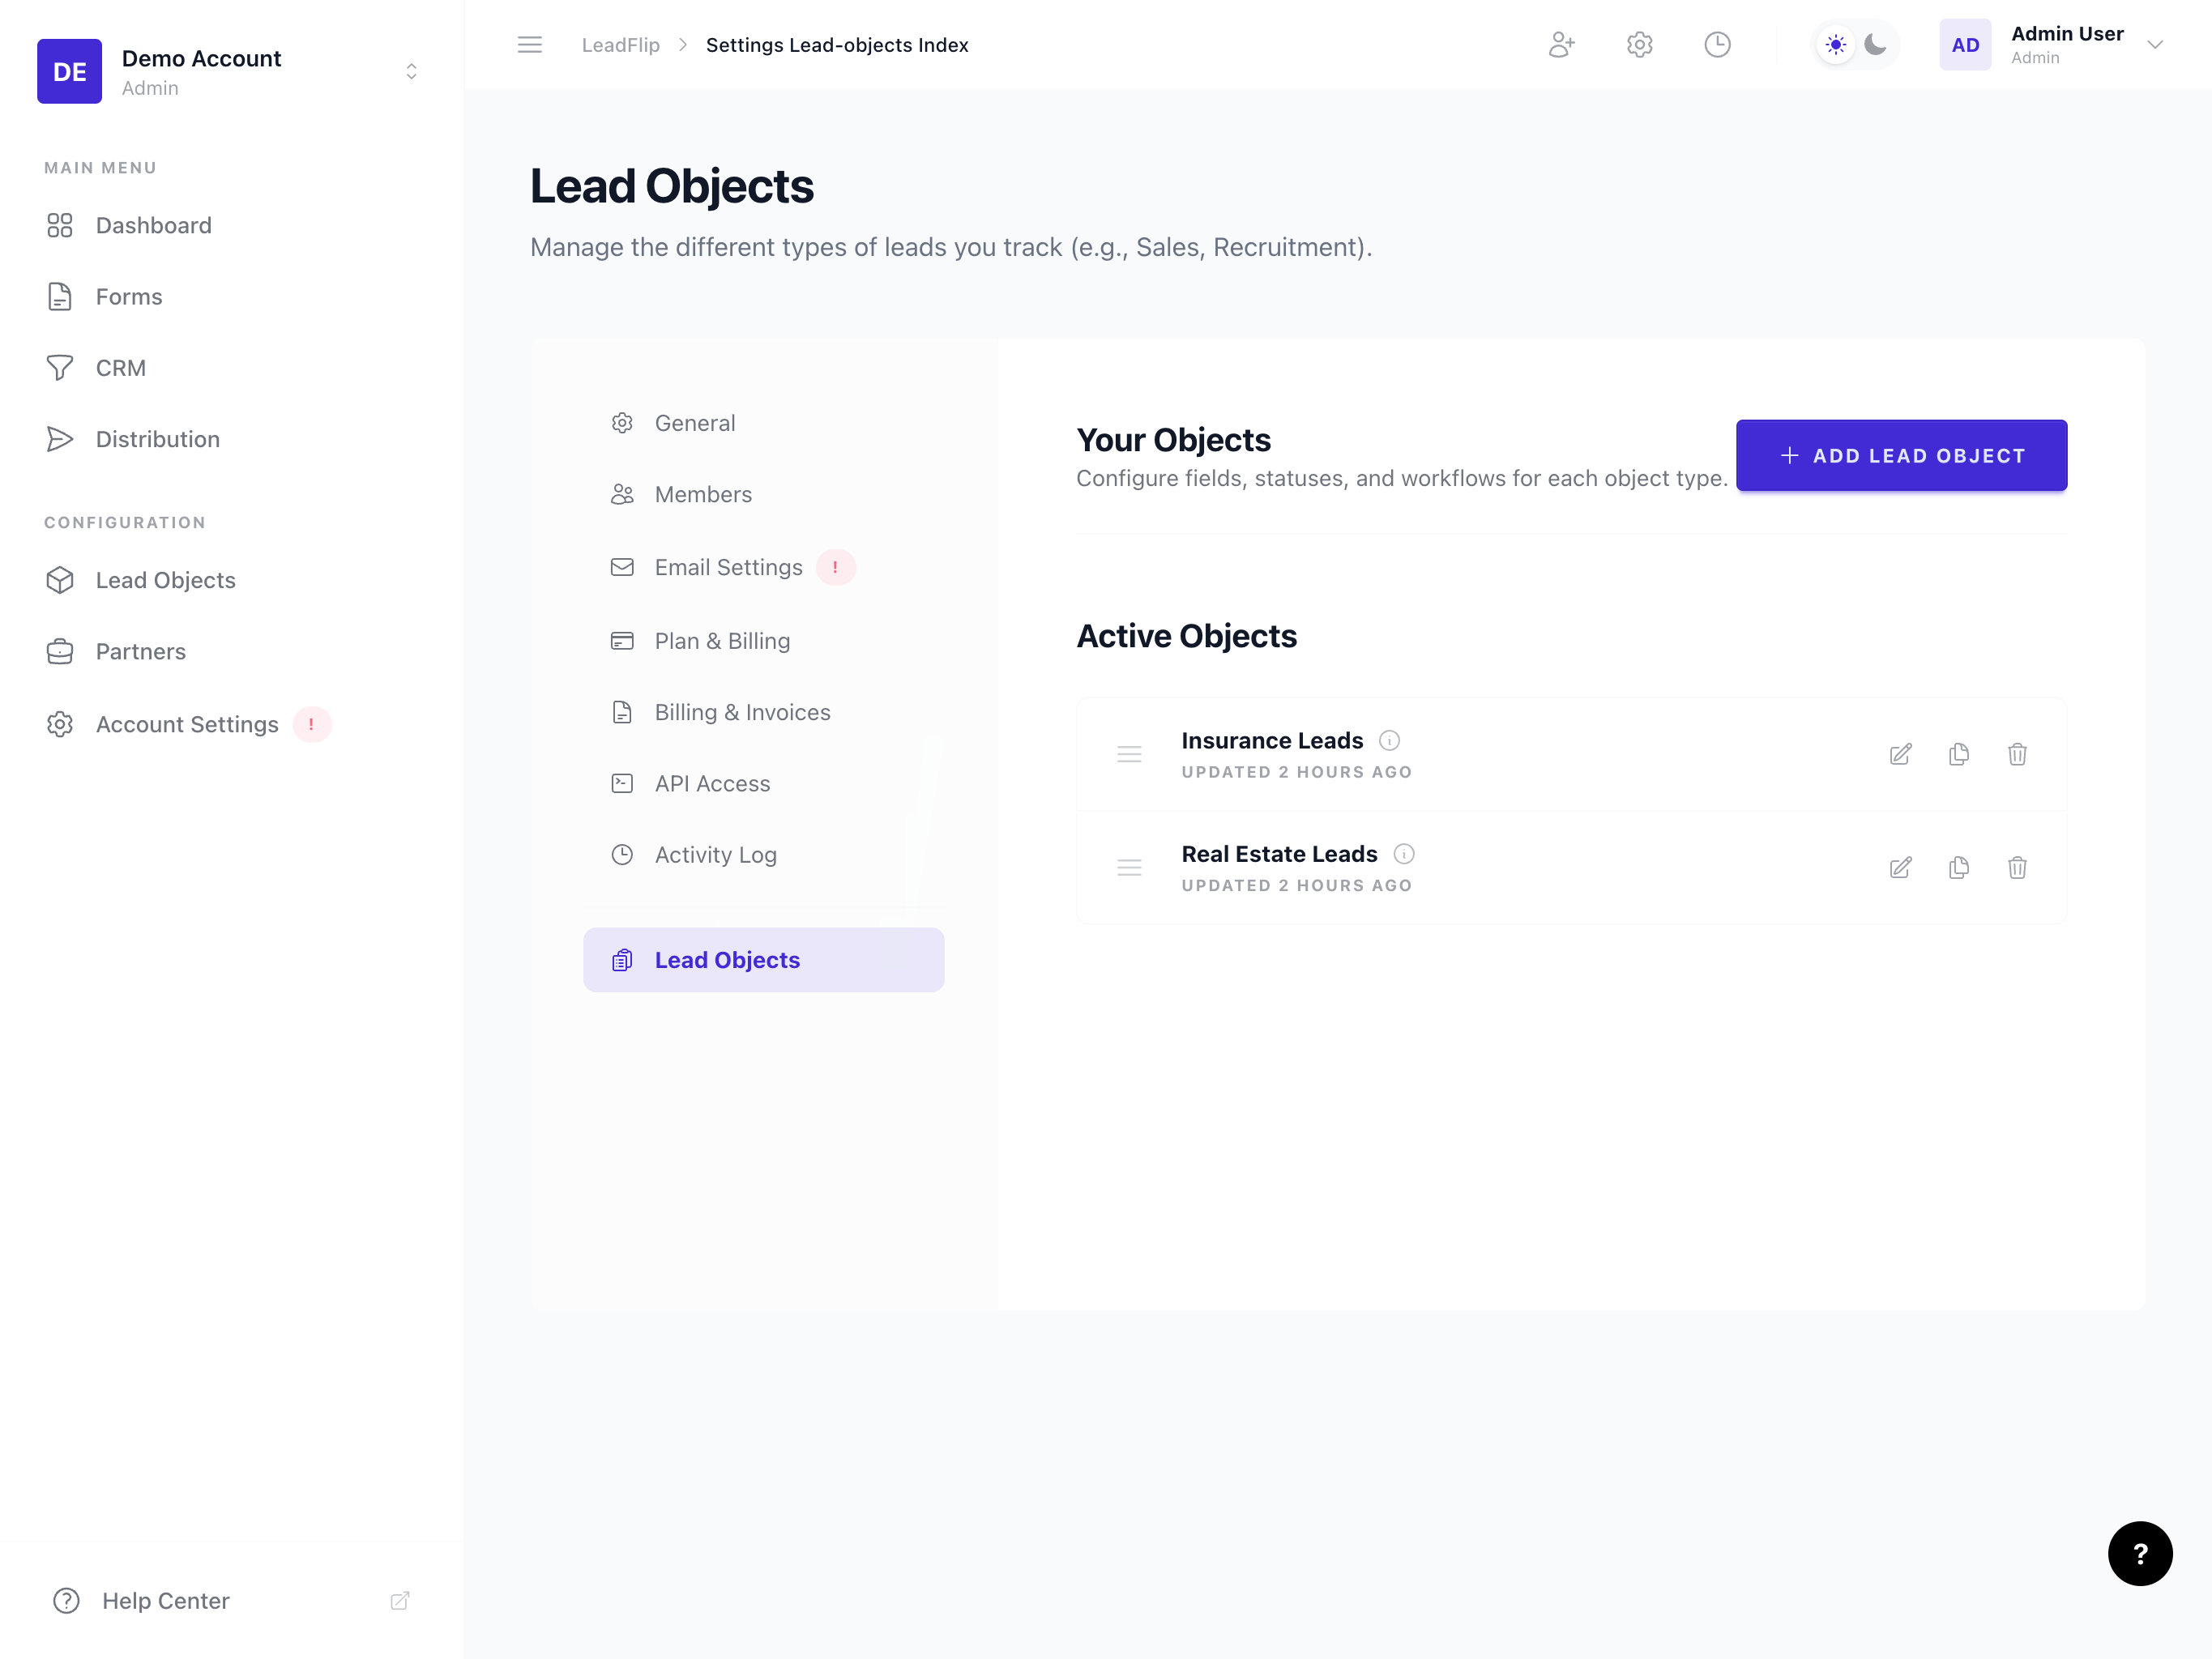
Step 1: Open Entities
- In the sidebar, click Entities (or navigate via Settings if your layout differs).
- You'll see a list of existing Entities and a Create New or + New Entity button.
- Click Create New to start the creation flow.
Step 2: Name Your Entity
The name is the primary identifier for your Entity. It appears in:
- The sidebar and Entity switcher
- Form Builder when selecting which Entity a form captures for
- CRM header and filters
- Distribution rules
Best practices:
- Use a descriptive, business-friendly name (e.g., "Insurance Quote Leads" not "LeadObj1").
- Keep it concise; long names may truncate in the UI.
- Avoid special characters; stick to letters, numbers, and spaces.
Step 3: Choose an Icon
Leadflip lets you assign an icon to each Entity. Icons help you quickly distinguish between multiple Entities in the sidebar and switcher.
- Click the icon selector to browse available options.
- Choose an icon that matches your use case (e.g., home for real estate, shield for insurance).
- Icons use Heroicons (outline and solid variants are available).
Step 4: Complete Initial Setup
After naming and choosing an icon, complete any additional setup prompts:
- Default status – If you've already created status groups, you can set which status new leads receive by default. Otherwise, you'll configure this when you add status groups.
- Initial fields – Some setup flows offer to add common fields (e.g., name, email, phone) during creation. You can accept these or add them manually later.
Click Create or Save to finalize your Entity.
Step 5: Post-Creation Configuration
Once created, your Entity will appear in the list. The next steps are:
- Add fields – Go to Edit → Fields to define custom fields. See Managing Fields for details.
- Set up status groups – Go to Edit → Status Groups to create your pipeline. See Status Groups & Pipelines.
- Optional: Enable encryption – For sensitive fields, enable encryption when adding or editing them. See Field Encryption.
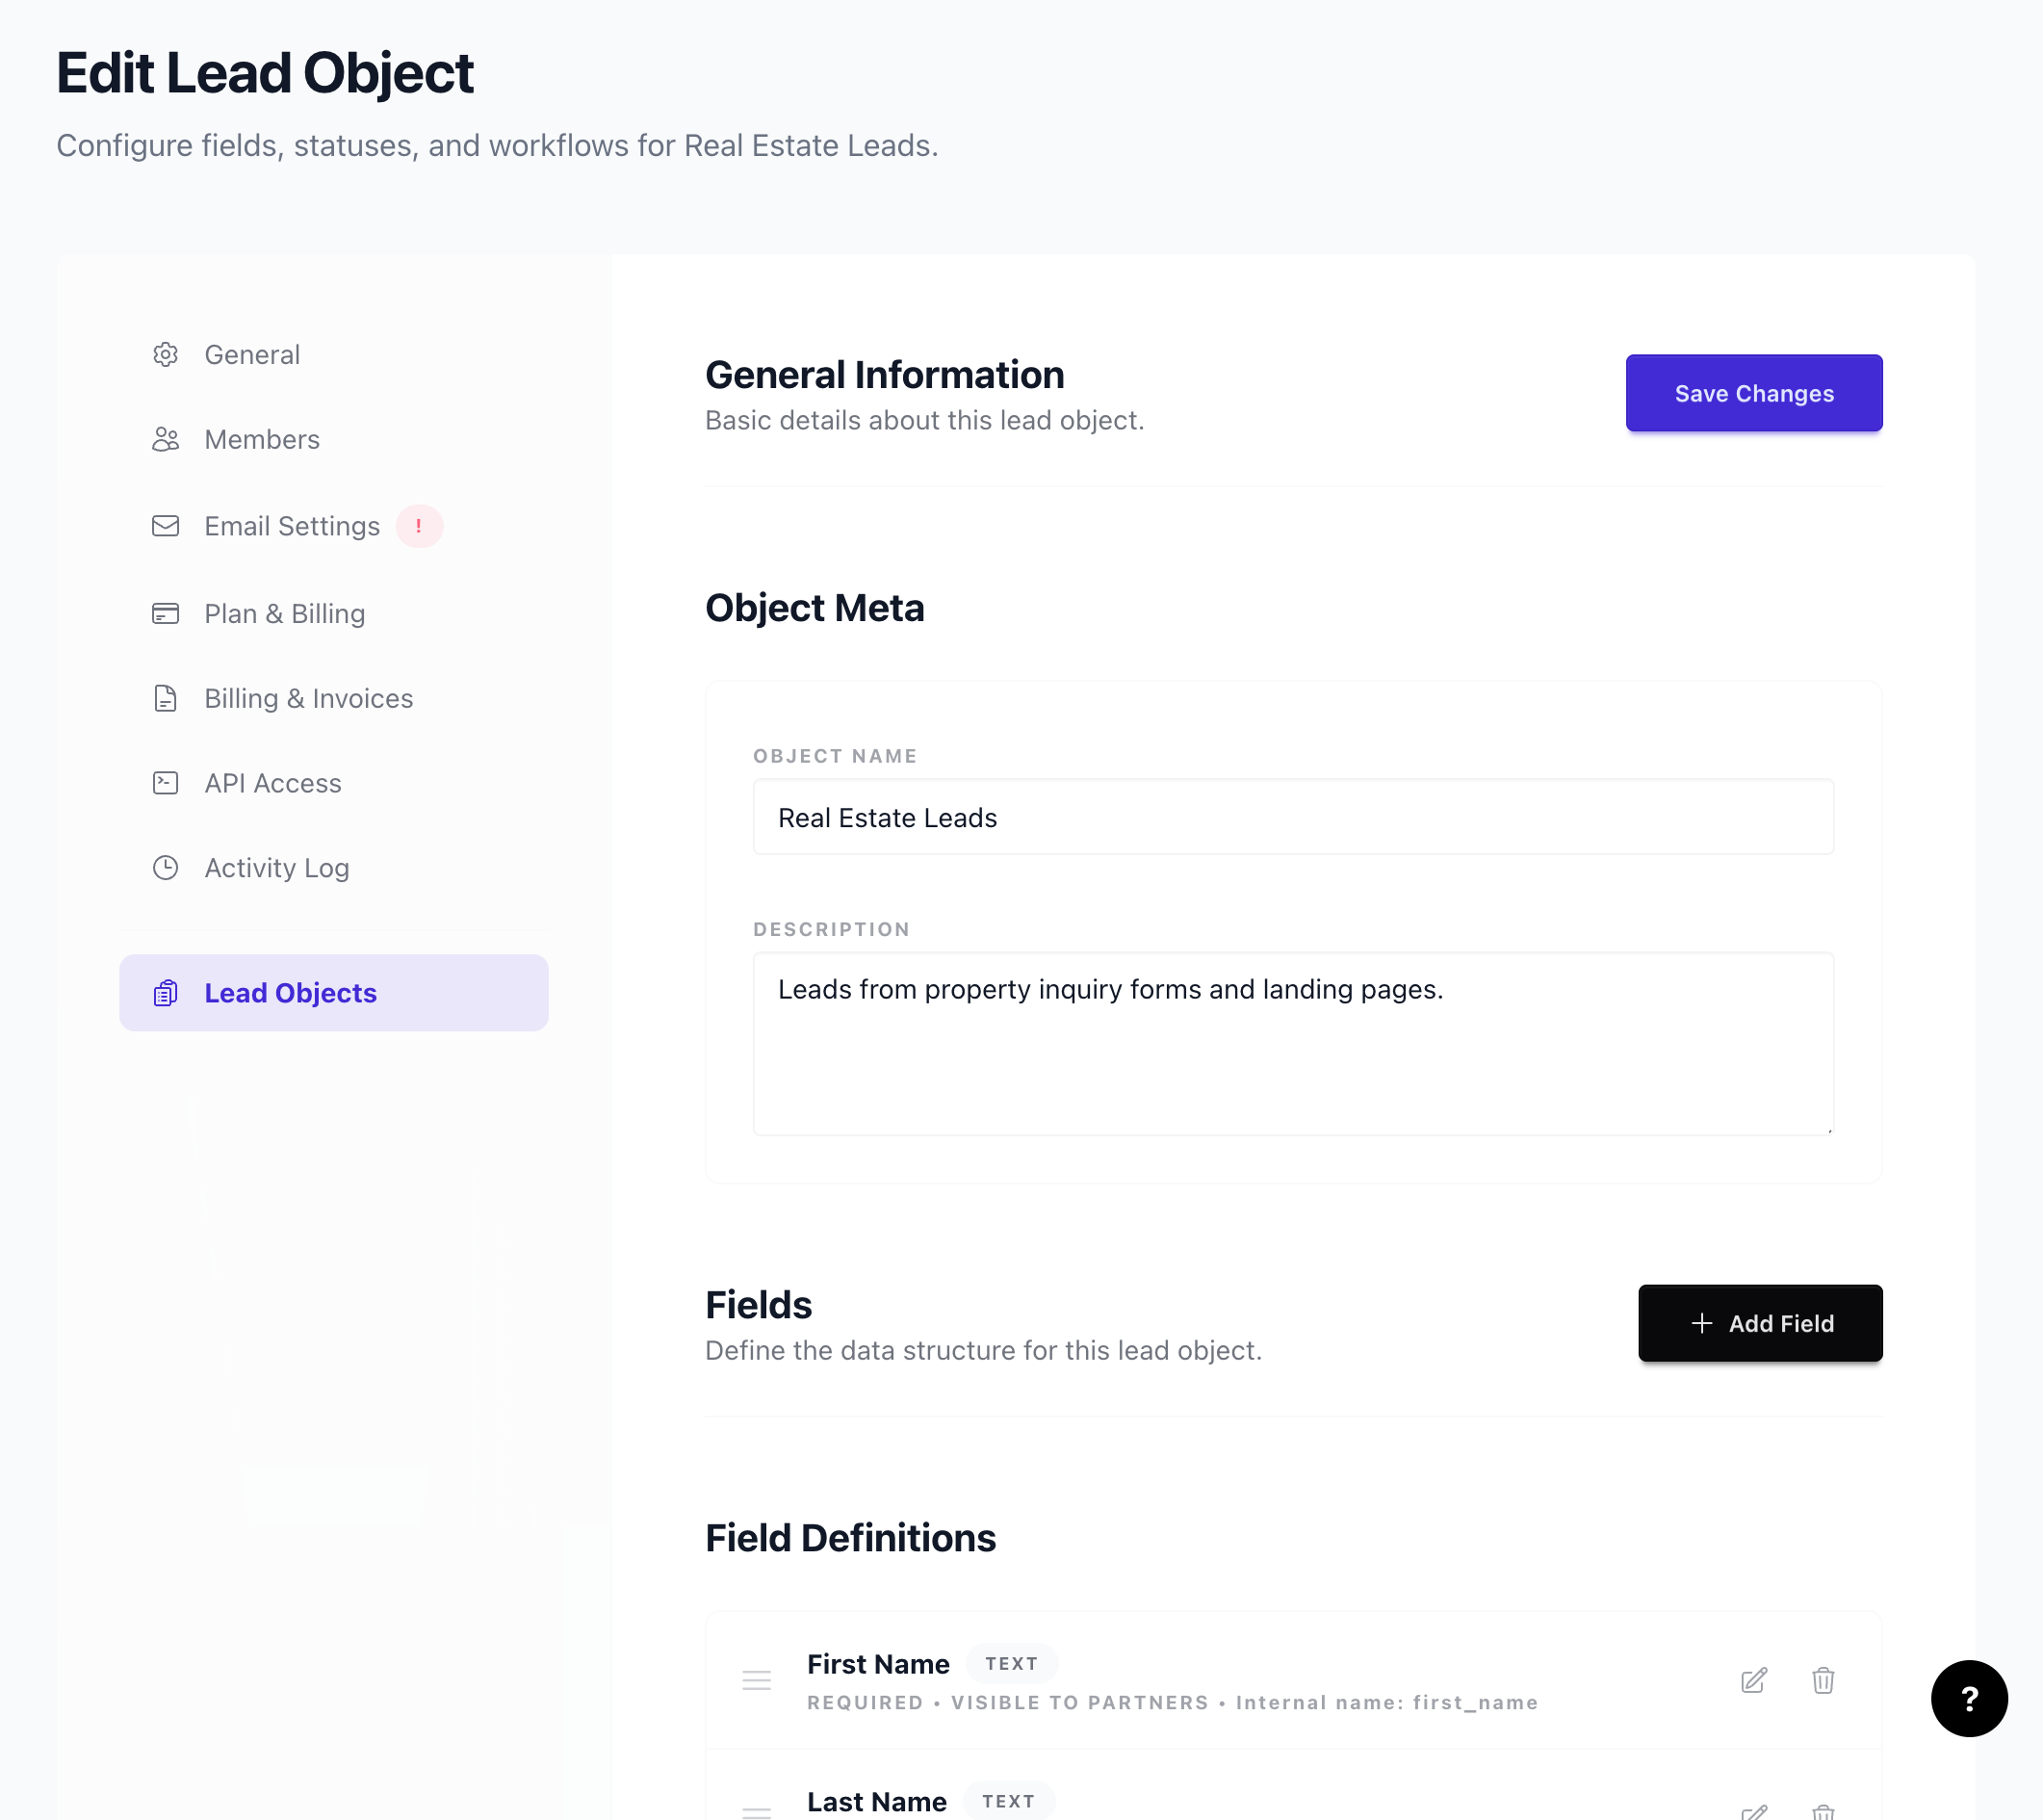
Editing an Existing Entity
To change the name or icon of an existing Entity:
- Go to Entities in the sidebar.
- Click the Entity you want to edit.
- Open the Edit or Settings section.
- Update the Name and/or Icon.
- Click Save.
Note: Changing the name or icon does not affect existing leads or forms. Only the display metadata is updated.
Deleting an Entity
Deleting an Entity is a destructive action and typically requires confirmation. All leads, forms, and distribution rules tied to that Entity will be affected. Before deleting:
- Export any leads you need to keep.
- Remove or reassign forms that capture to this Entity.
- Update distribution rules that reference it.
If your plan supports multiple Entities, consider archiving or hiding instead of deleting. Check your plan limits and admin options.