Status Groups & Pipelines
Where to find it
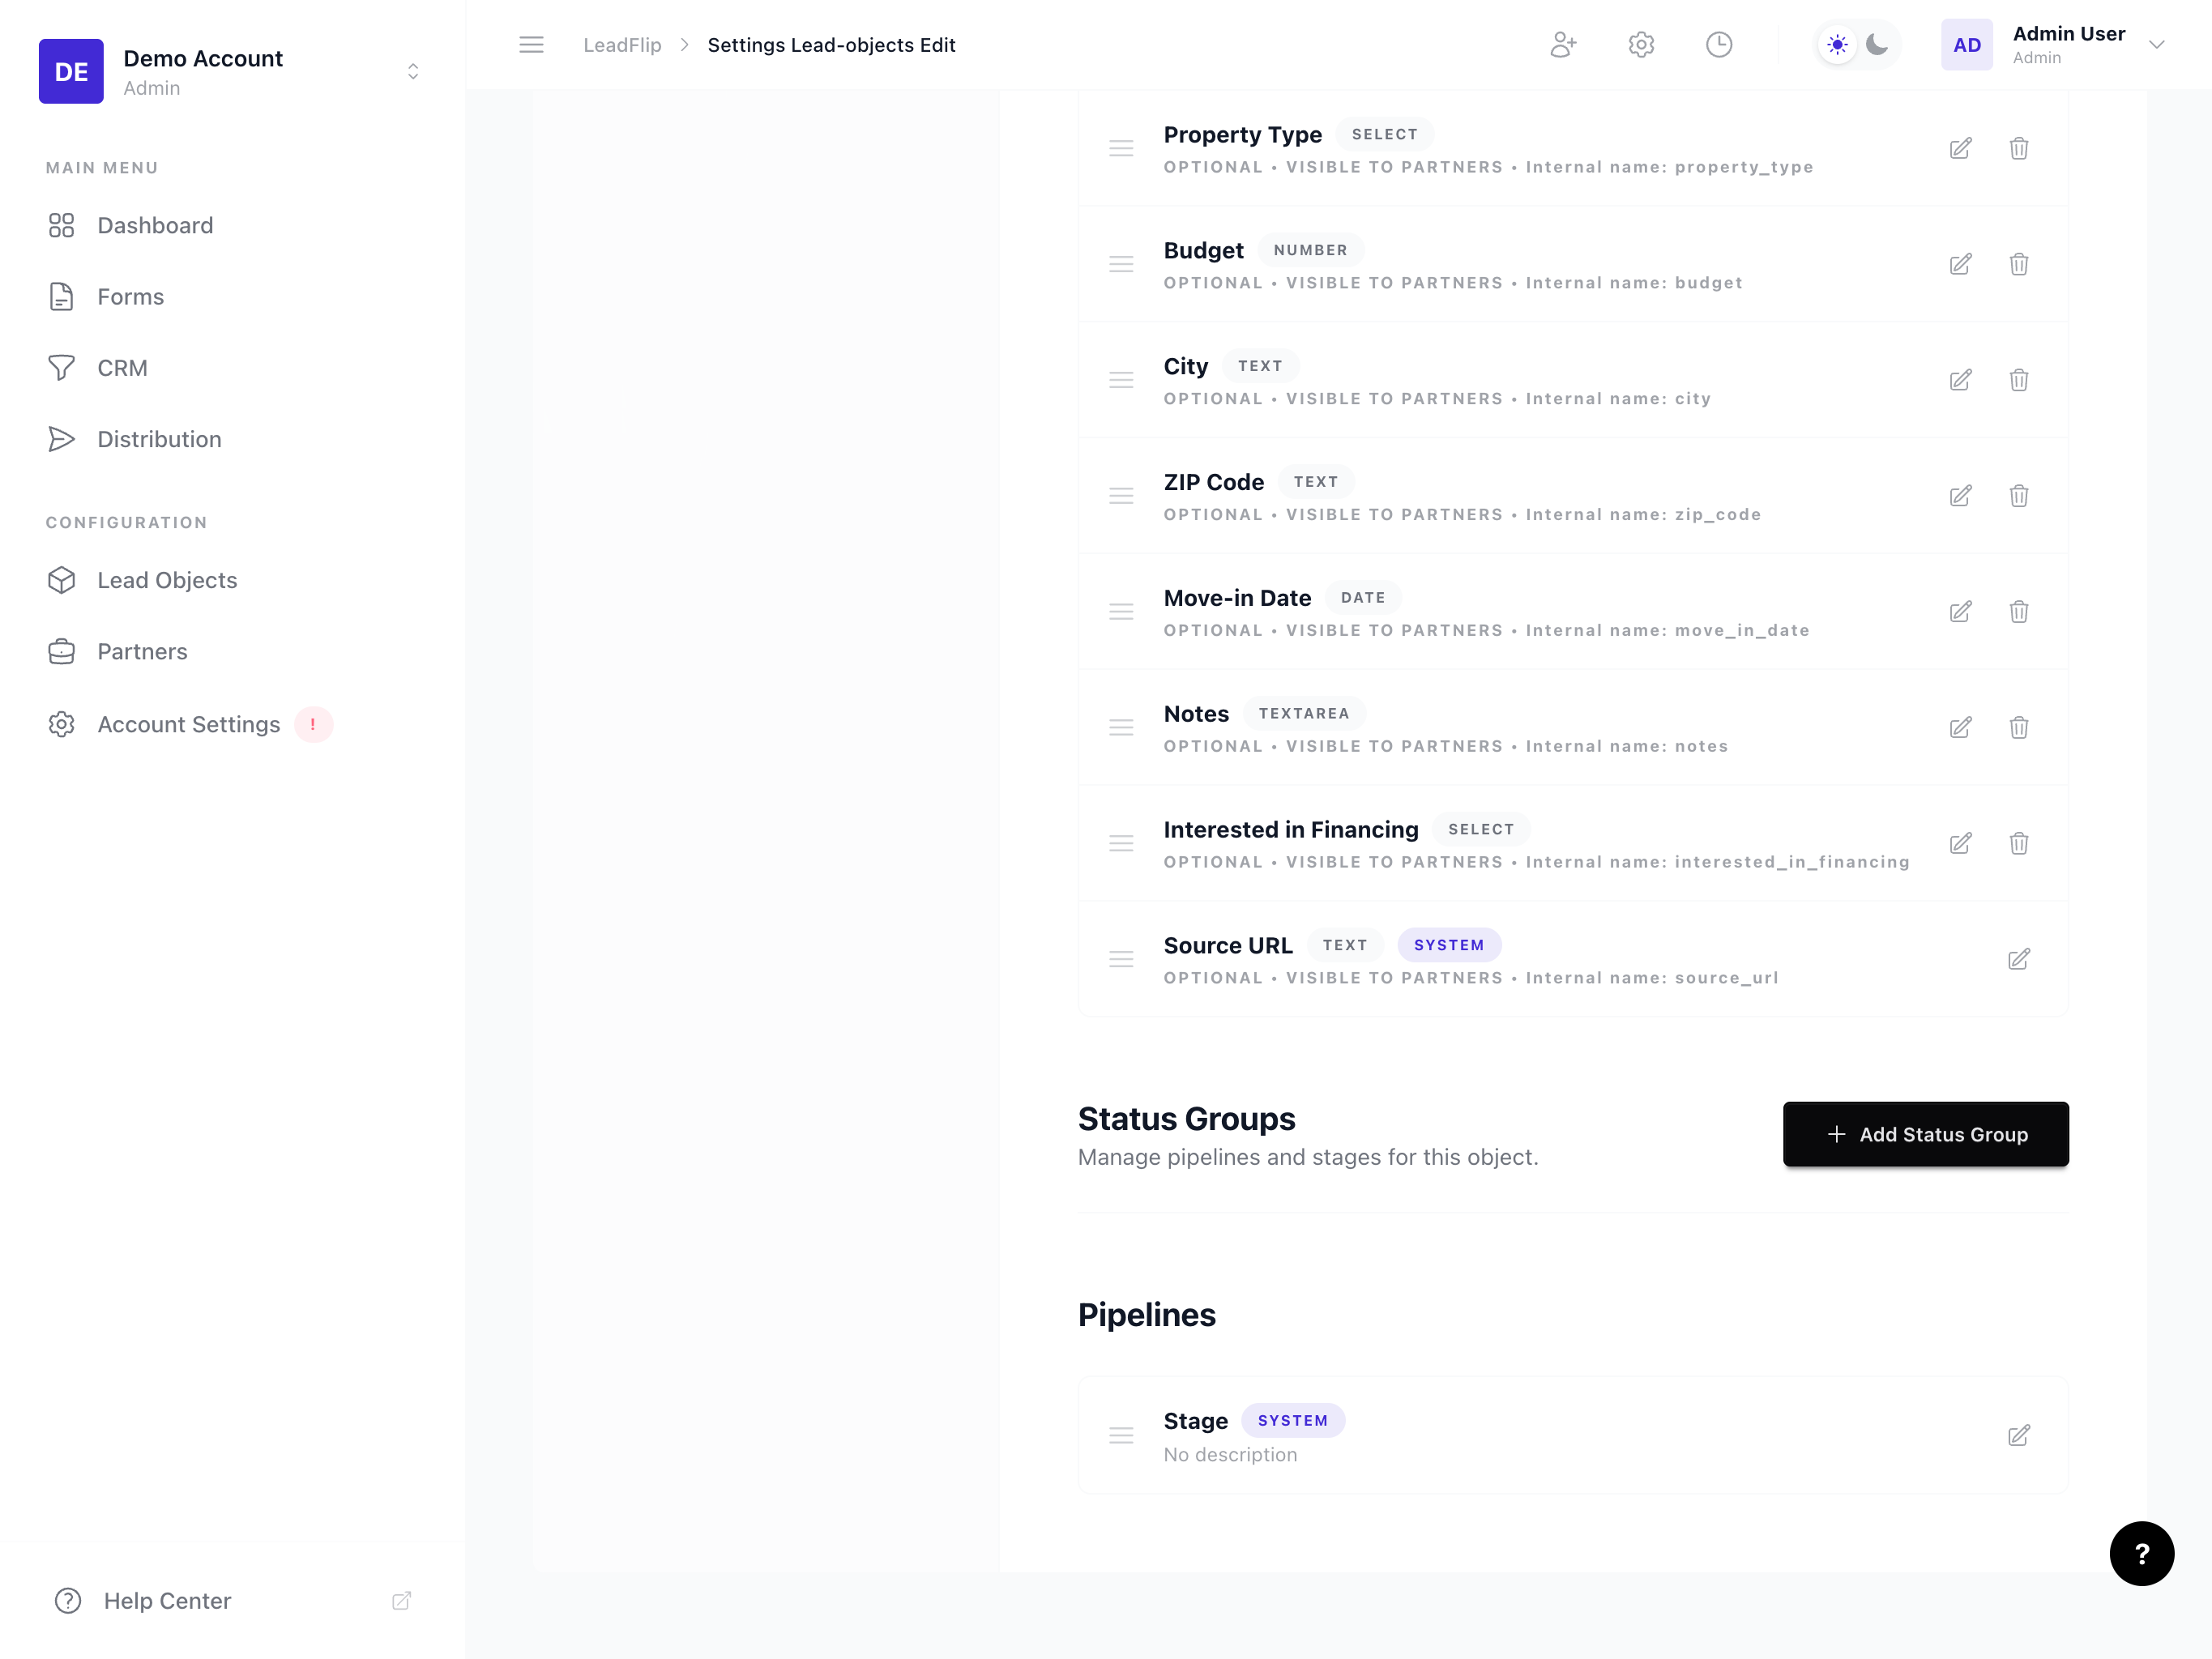
Sidebar > Entities > [Object] > Edit > Status Groups
Status Groups & Pipelines
Status groups define your lead pipeline. Each status maps to a Kanban column in the CRM, so you can drag leads from stage to stage. This guide covers how to create, edit, reorder statuses, and set a default status for new leads.
What Are Status Groups?
A status group is a collection of statuses that represent stages in your pipeline. For example:
- New – Just arrived, not yet reviewed
- Qualified – Verified and ready to work
- Contacted – Initial outreach done
- Won – Deal closed successfully
- Lost – Deal did not close
Each status becomes a column on your Kanban board. Leads are placed in one column at a time, and you move them by dragging cards between columns.
Why Status Groups Matter
- CRM Kanban – Statuses = columns. No statuses means no Kanban structure.
- Filtering – Filter leads by status in the CRM, exports, and distribution rules.
- Automation – Automations can trigger when a lead moves to a specific status (e.g., "Send email when status = Qualified").
- Reporting – Track conversion rates, time in each stage, and pipeline health.
Accessing Status Groups
- Go to Entities in the sidebar.
- Select the Entity you want to configure.
- Open Edit.
- Navigate to the Status Groups tab or section.
Creating a Status Group
If your Entity supports multiple status groups (e.g., for different pipelines), you'll create a group first, then add statuses. If you have a single default group, you may go straight to adding statuses.
- Click Add Status Group or Create Group (if applicable).
- Name the group (e.g., "Sales Pipeline").
- Add statuses to the group (see below).
Adding Statuses
- In the Status Groups section, click Add Status or + New Status.
- Enter the Status name (e.g., "New", "Qualified", "Won").
- Optionally set a Color or Label for visual distinction on the Kanban.
- For the default status (used for new leads), ensure it's marked. See "Default Status" below.
- Click Save or Add.
Repeat for each stage in your pipeline.
Editing a Status
- Find the status in the list and click Edit (pencil icon).
- Update the name, color, or other properties.
- Click Save.
Note: Changing a status name updates it everywhere (Kanban, filters, automations). The internal key may stay the same to avoid breaking references.
Reordering Statuses
The order of statuses determines the left-to-right order of Kanban columns.
- Use drag-and-drop to reorder statuses.
- Or use Move up / Move down buttons.
- Save if required.
Typical order: New → In Progress → Won / Lost (with Won and Lost often at the end).
Default Status
The default status is assigned to new leads when no status is explicitly set. Examples:
- A form submission creates a lead → it gets the default status (e.g., "New").
- An API create request without a status → default is used.
- An imported lead without a status → default is used.
How to set:
- In the Status Groups section, find the status you want as default.
- Click Set as default or toggle Default.
- Only one status per Entity (or per status group) can be default.
Status Colors
Many setups support colors for statuses to make the Kanban easier to scan:
- New – Blue or gray
- In Progress – Yellow or amber
- Won – Green
- Lost – Red or gray
Colors are optional but improve visual clarity.
Common Pipeline Patterns
Sales Pipeline
New → Qualified → Contacted → Proposal → Won | Lost
Lead Review Pipeline
Inbound → Review → Approved → Rejected
Distribution Pipeline
Received → Matched → Distributed → Paid
Simple Two-Stage
New → Processed
Choose a structure that matches how your team works. You can always add or remove statuses later.
Multiple Status Groups (Advanced)
Some accounts support multiple status groups per Entity. Use cases:
- Sales vs Support pipelines
- Pre-sale vs Post-sale automations
- Different products with different stages
If available, create a group per pipeline and assign leads to the appropriate group. The CRM may show a group selector or separate Kanban views.
Status Groups and the CRM
- Each status = one Kanban column.
- Leads appear in the column matching their current status.
- Dragging a card updates the lead's status.
- Empty columns can be hidden or shown depending on settings.
Status Groups and Automation
Automations can:
- Trigger when a lead moves to a specific status
- Condition on current status (e.g., "If status = Won, send notification")
- Action to change status (e.g., "Set status to Lost after 30 days no contact")
Ensure your status names are clear and consistent for easy rule building.
Best Practices
- Keep it simple – Start with 4–6 statuses; add more only if needed.
- Use clear names – "Contacted" is better than "Stage 2".
- Order logically – Left to right should match your real process.
- Set a sensible default – Usually "New" or "Inbound" for new leads.
- Avoid duplicates – Don't create "New" and "New Lead" for the same concept.
Next Steps
- Manage custom fields to capture data at each stage
- Create a form that assigns new leads to your default status
- Build automations that react to status changes